
If you have been using ServiceNow for IT service management, you can configure the Dotcom-Monitor alert notification feature to manage monitoring incidents from within your ServiceNow account.
There are two approaches to the setup of Dotcom-Monitor Integration with ServiceNow: configuring integration via HTTP Webhooks and using the ServiceNow® Event Management application.
The first approach leverages the HTTP Webhook alert delivery method to connect Dotcom-Monitor and ServiceNow accounts via webhook requests. This approach involves manual customization of the alert templates to map Dotcom-Monitor message variables to ServiceNow event fields. Please visit the HTTP Webhook Integration article to learn how to send alert messages to a dedicated webhook URL.
Alternatively, if you have an active Event Management plugin, you can configure the Dotcom-Monitor alerting system to push alert events directly to your ServiceNow instance. In this case, Dotcom-Monitor will send a JSON request with alert details in the payload to the https://<instancename>.service-now.com/api/global/em/jsonv2 endpoint and create a new record in the [em_events] table every time a new monitoring alert is generated in Dotcom-Monitor.
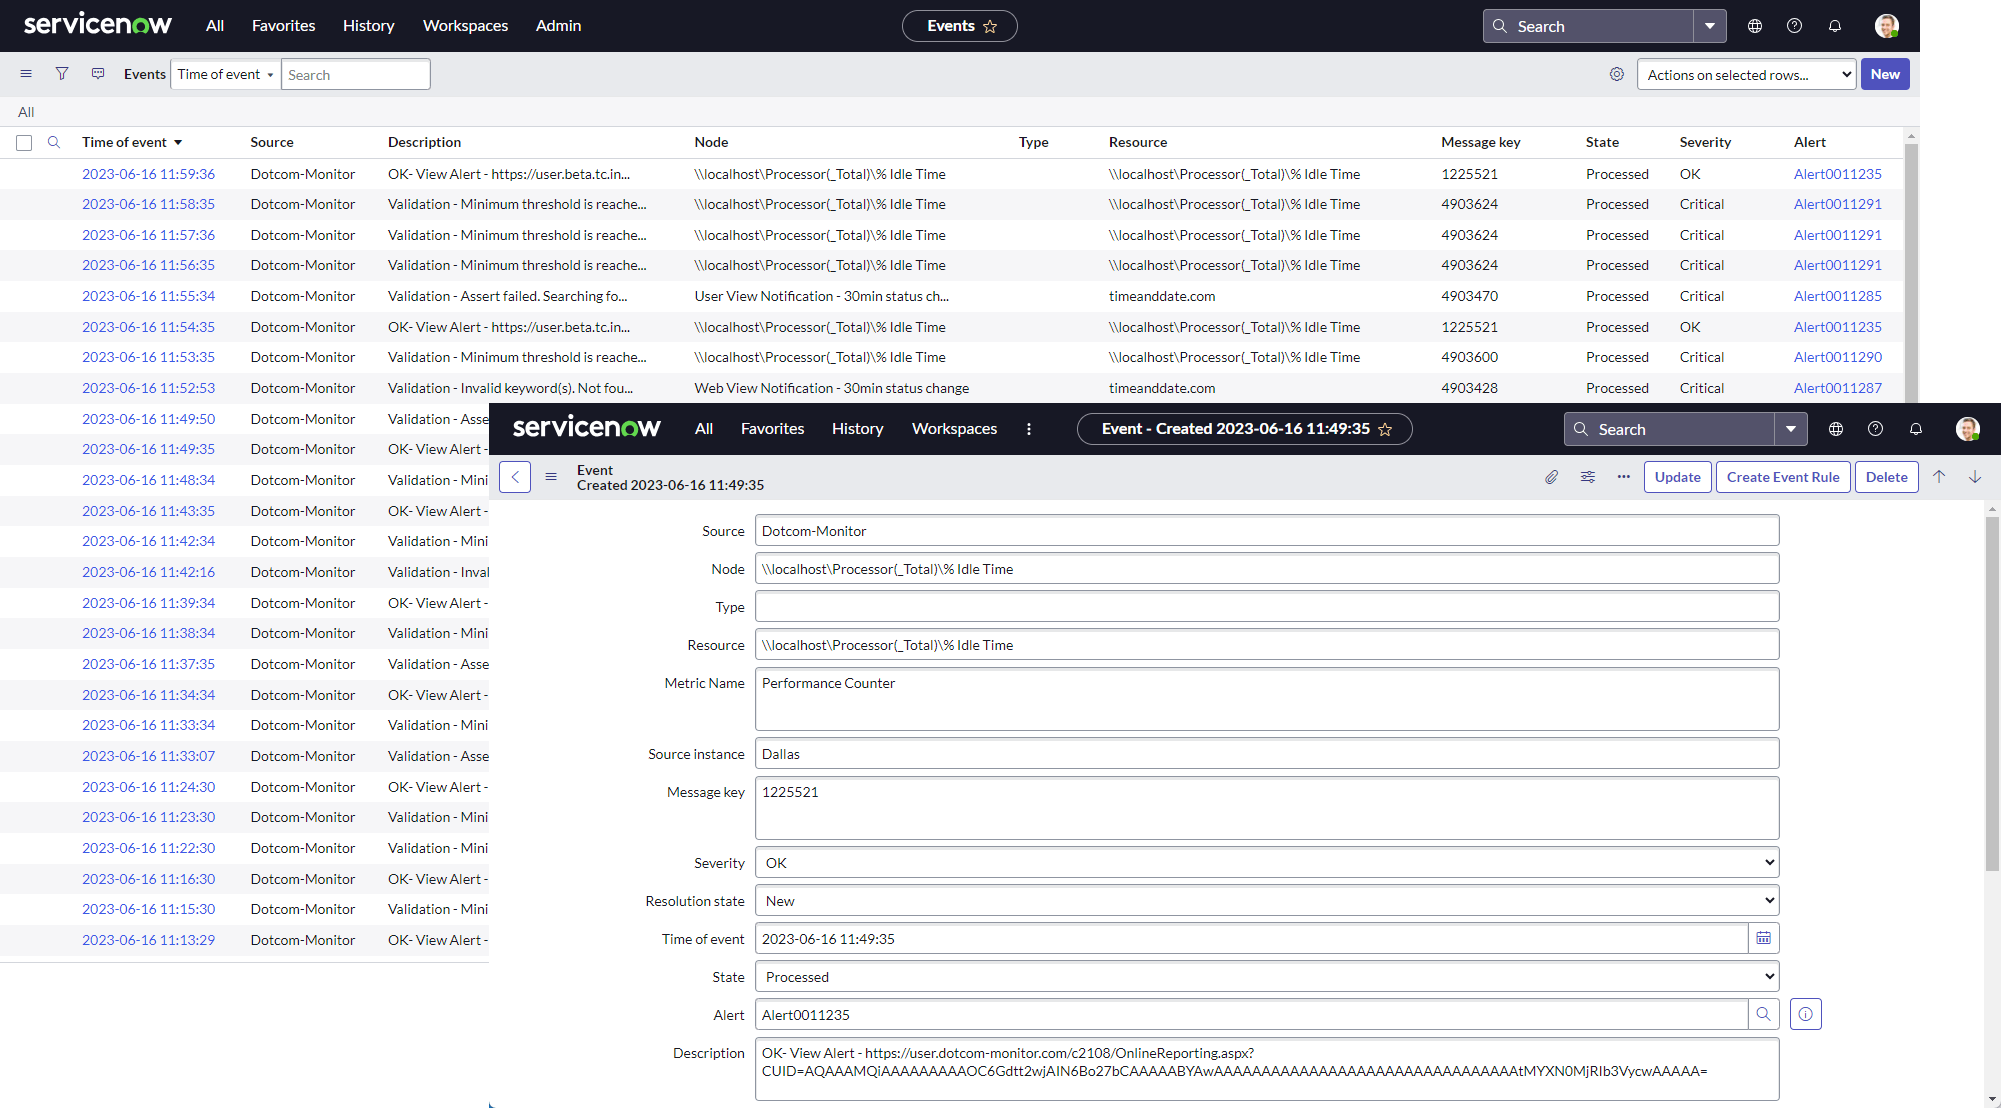
The requests to the ServiceNow web service API are configured automatically in accordance with the ServiceNow web service API requirements. Please see how we map the alert message variables to the [em_events] fields below.
Pushing Events from Dotcom-Monitor to ServiceNow with Event Management plugin
First, login in to your ServiceNow account and make sure that you have an active Event Management plugin. Use the recommendations provided in the product documentation to configure a web service interface for pushing events to your ServiceNow instance.
Next, login into your Dotcom-Monitor account and in the alert group settings, select the ServiceNow address type. Dotcom-Monitor provides users with a pre-configured request and notification message template. All you need to do is to provide the instancename as appears in your ServiceNow account in the following format:
https://<instancename>.service-now.com/api/global/em/jsonv2
Then configure the request authentication parameters and you are ready. We recommend that all other request settings are left as default.
Authentication
Provide login credentials in the Authentication section to authorize all incoming requests to the ServiceNow web service API. Note a ServiceNow user should comply with the following requirement:
Role required: evt_mgmt_integration
Note that you can pass dynamic credentials as well as a static login-password pair. To customize your authentication credentials, click the drop-down menu icon at the beginning of the corresponding input field and select the type of content you want to add. For more details on configuring custom authentication parameters, please see the How to Customize Request Parameters section of this article.
How to Customize Request Parameters
Dotcom-Monitor provides users with a variety of options to support notification request customization. Depending on your goals and your web application server requirements, you are flexible to personalize your notification message and other request parameters by using one of the offered data types.
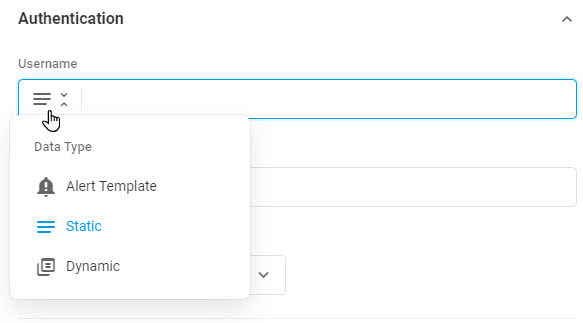
Alert Template
The alert template can store not only the alert message content but any type of content that you want to use in the request parameters. If you need to create a new reusable template, please create one as described in the Alert Template: Setup and Configuration (Text & HTML & JSON) article of this wiki.
To select a pre-configured template, click the input field and select the template from the list.
Static Content
If you need to pass static data along with your request parameters, select the Static option. You can enter the content into the input field.
Dynamic Content
Alert messages and other request parameter values can be personalized by using dynamic variables. Dotcom-Monitor will pass the current system values to the associated variables upon sending an alert notification. Dotcom-Monitor dynamic templates are implemented with Microsoft’s Razor parsing engine and can be created from within the message input field. Please learn how to work with dynamic variables in the Adding Dynamic Variables to Alert Template Knowledge Base article.
If you want to leverage alert templates created before or use our predefined HTML snippets, expand the message input field and use the message editor as described in the Alert Template: Setup and Configuration (Text & HTML & JSON) article of our Knowledge Base.