Protection of Personally Identifiable Information (PII) should span the entire web application life cycle. For example, Health Insurance Portability and Accountability Act (HIPAA) requirements must be met at each stage of development for a healthcare website, in addition to carrying out web testing requirements.
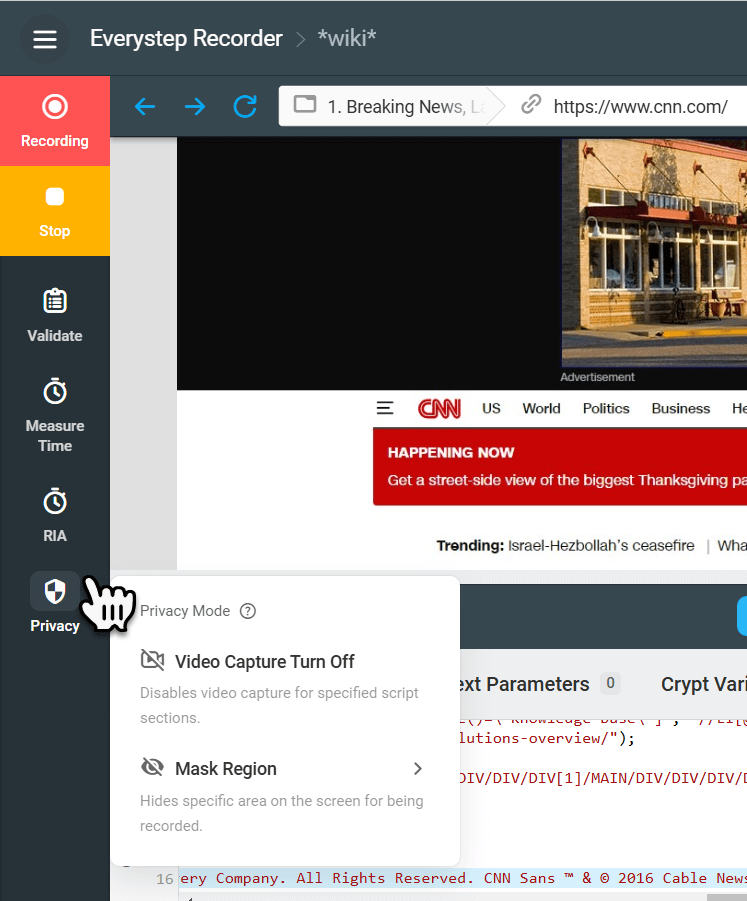
By default, we capture video of the various web applications’ steps, or transactions, in a browser window. Some sensitive web content, such as Protected Health Information (PHI) or web forms with login or other personal data, may also be recorded on the video. If necessary, you can disable transaction recording and screenshots features altogether. However, since the video of the transaction execution is used for error troubleshooting, we recommend you use the Privacy Mode features of the EveryStep Scripting Tool.
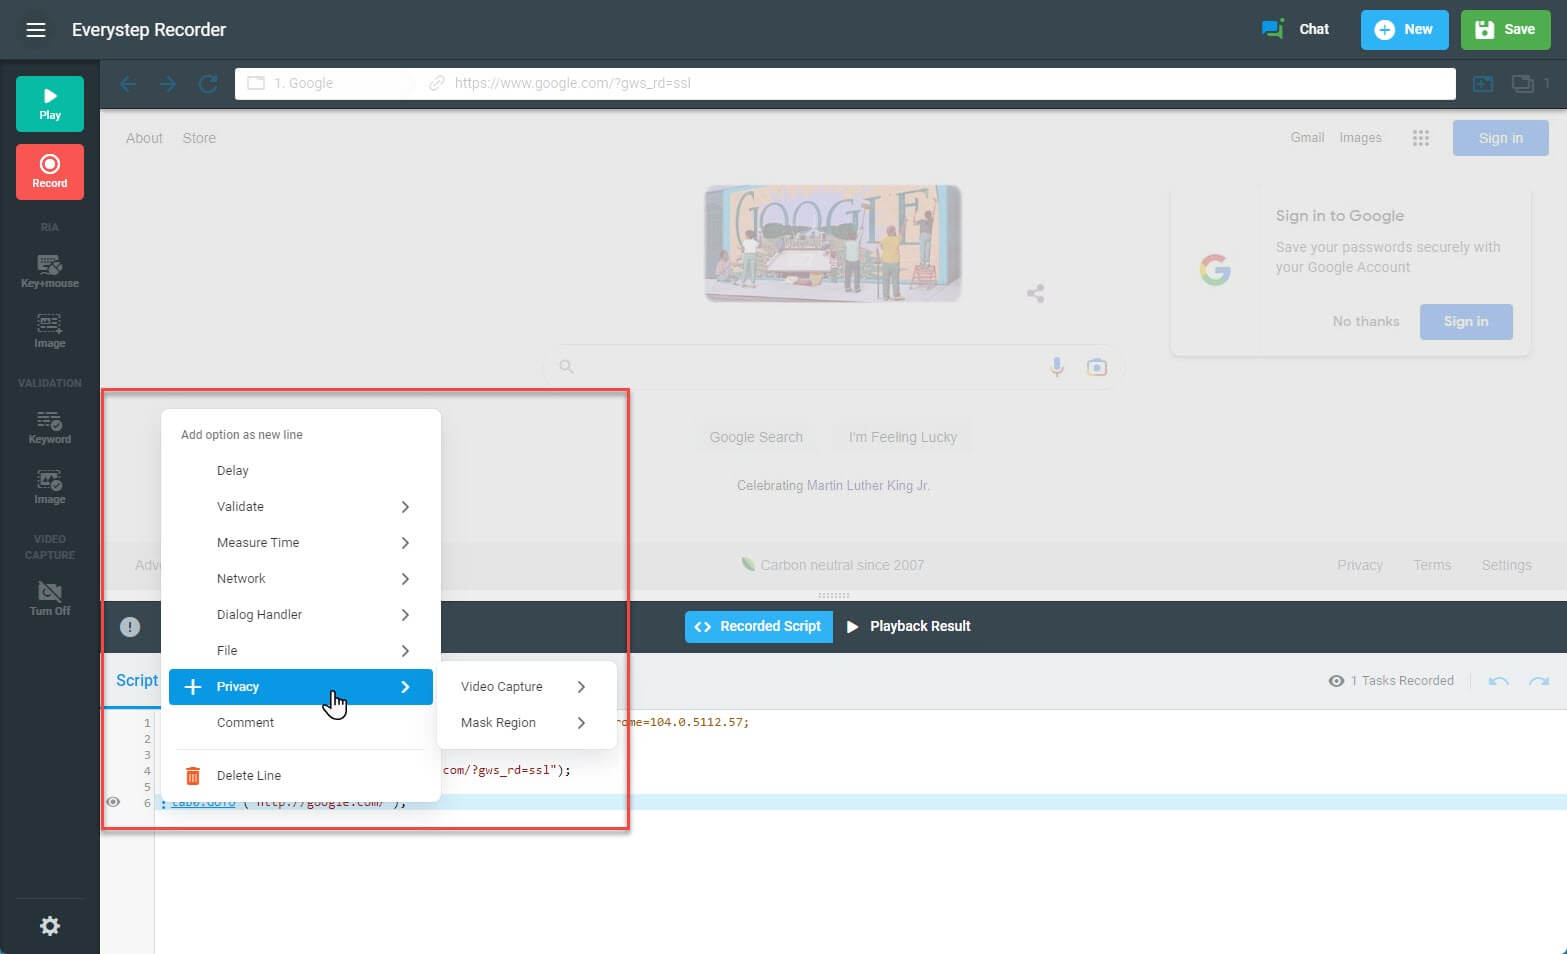
In the Privacy Mode, you can temporarily pause session recording when it comes to sensitive web content. Or you can hide specific regions on the recorded video. To decide which approach of PII protection works better for your case, check the explanations given in this article.
Hide Region on Recorded Video
If you want to hide a specific region on the recorded video and keep it masked on the video replay, you can specify the region in the EveryStep Scripting Tool while recording the script.
The EveryStep Scripting Tool lets you manually outline an area on the web page you want to hide. The selected area will be masked with a black rectangle on the captured video of your EveryStep script execution. Practically speaking, every time users of your Dotcom-Monitor account review the recordings of the script execution, they will see that black rectangle instead of the region selected to be hidden.
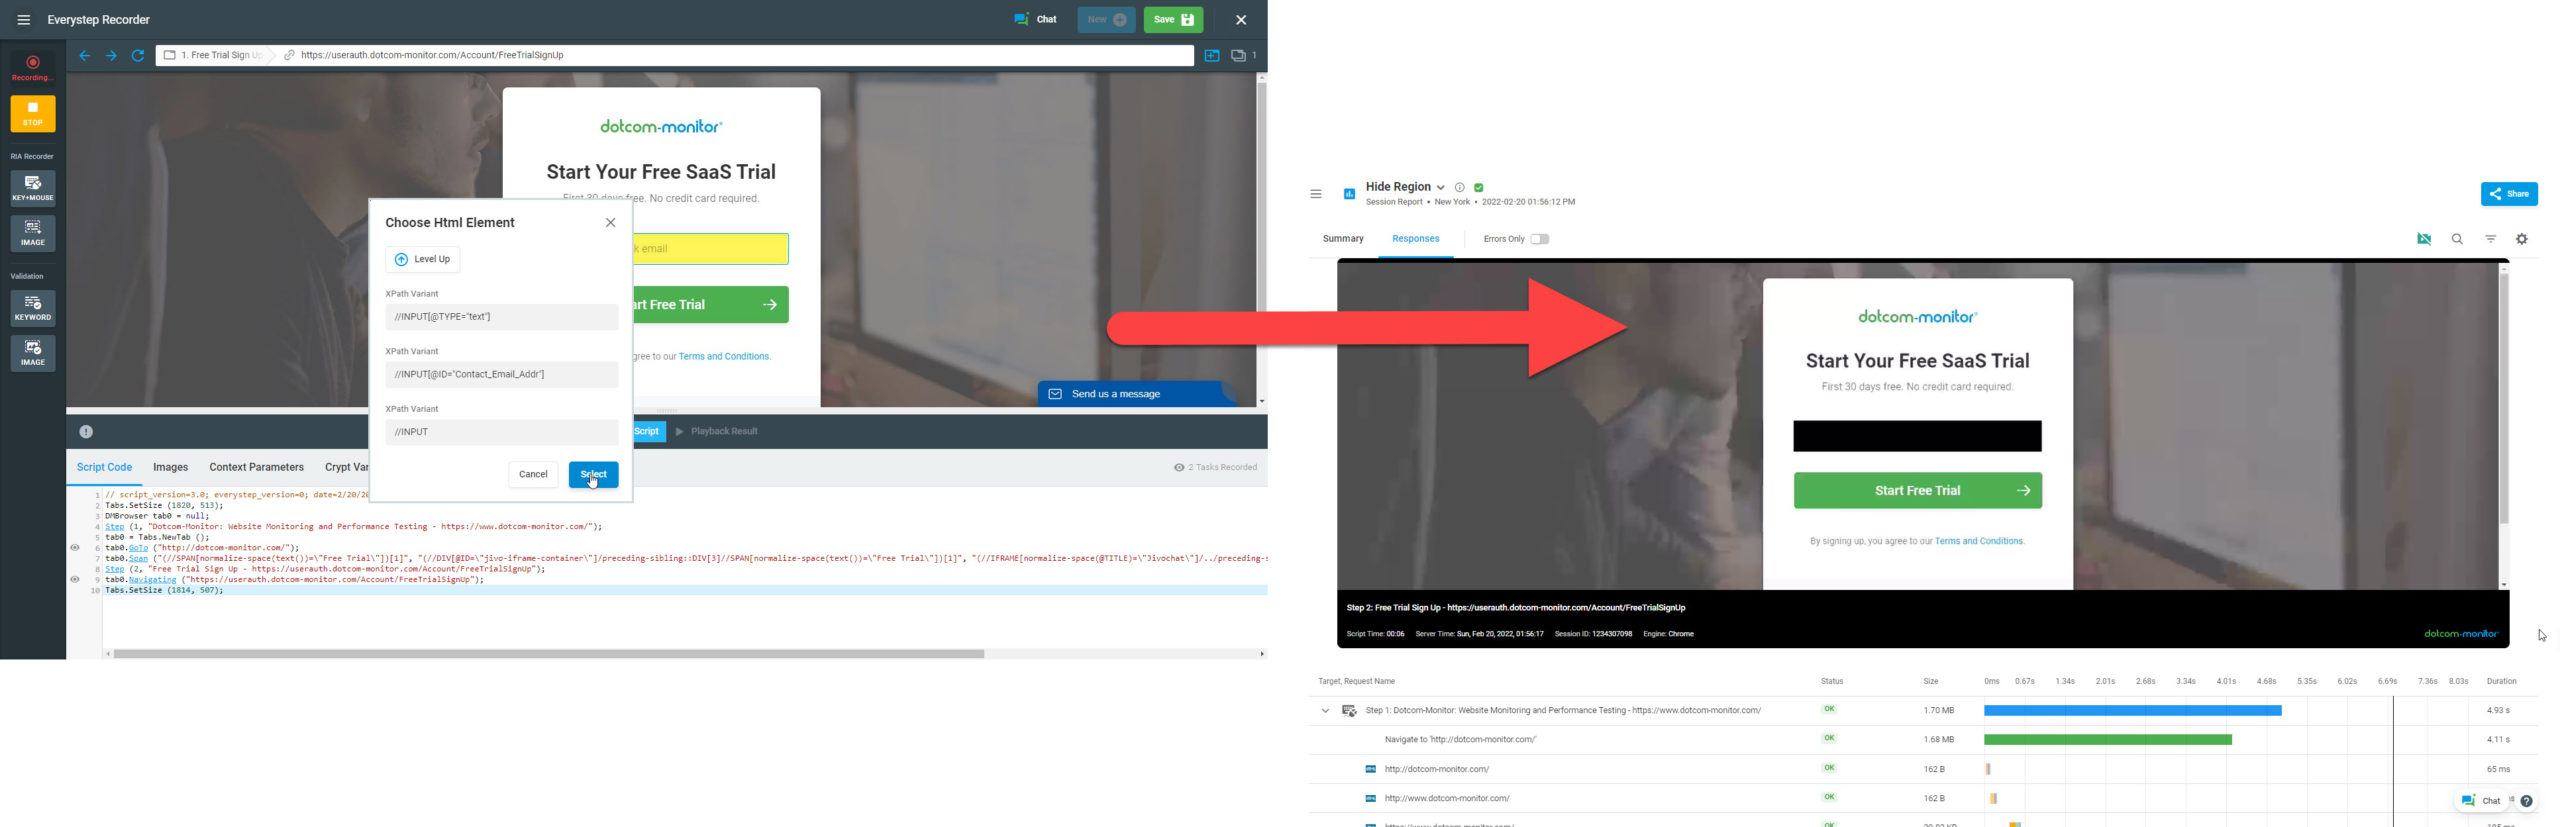
You can select a specific HTML element area to be masked on the video. For example, you can select a text input field on a sign-up page to be hidden under a black rectangle. Alternatively, if you want to hide a custom area on the video, you can directly specify the screen coordinates of this region.
In the case of recording scripts for RIA-driven web application monitoring and load testing, you can link the masking region to a reference RIA image on the page. Our unique RIA image-matching technology will detect the picture on the captured video and hide the region linked to that picture on the video playback.
To specify a masking region on the web page in the EveryStep Scripting Tool, check the guidelines provided for the corresponding masking method.
-
Hide by HTML Element
-
Hide by Region Linked to Screen Coordinates
-
Hide by Region Linked to RIA Picture
Changing Region Behavior
Scrolling the screen can affect the masking region position on the captured video.
By default, the masking region is anchored to the top of the screen or to the center of the associated RIA image. Simply put, the region sticks to its initial position when the scrolling action is executed. However, once the script has been recorded, you can change the way the masking region behaves on the video by changing the region parse rule. For example, you can hide the elements that stick to the top of the screen once it’s been scrolled by binding the masking region to the page.
To change the anchor the masking region is linked to, stop recording, and in the Script Code section, click the VideoCapture.Regions.Exclude method you want to modify and select a region parse rule from the corresponding list:
- BindToScreen. When bound to the top of the screen, the region sticks to the initial position relative to the top of the screen.
- BindToPage. When bound to the top of the page, the region becomes fixed in place and scrolls with the page.
- RealTimePicture (RIA picture only). Similar to BindToScreen. It binds the region to the center of the linked RIA image.
Changing Region Coordinates
To change the coordinates of the masking region, in the Script Code section, click the corresponding Region method and specify new coordinates.
Clear Masked Regions
To clear all masked regions that were specified before in the script, from the screen recorder context menu, select Hide Video Region By > Clear All Regions.
Pause Video Recording
The Video Capture Turn Off option of the Privacy mode menu (Video Recording in the EveryStep Scripting Tool Desktop) allows you to pause and resume video recording while executing web application monitoring and load testing sessions.
To use the Video Capture Turn Off function to pause video recording while executing a specific part of the script, follow the steps below:
- Start recording a script.
- Right before the steps that involve PII content, from the Privacy mode menu, select Video Capture Turn Off to switch the video mode to the “off” state. The corresponding line will be added to the script.
- To resume the recording, rom the Privacy mode menu, select Video Capture Turn On. The recording will be activated for the subsequent steps and actions.
Applying the Privacy Mode to the Pre-recorded Script
If you need to apply the functions of the Privacy Mode to a pre-recorded script, use the Privacy option of the script editor context menu.