If you need to use the On-Site Proxy Agent for load testing behind the firewall and want to map your domain names to custom IP addresses, you can do it with your “hosts” file on the machine where the On-Site Agent is running.
The hosts file is aimed to map host names to corresponding IP addresses like it occurs in the Domain Names System (DNS). Here you can specify which IP address must be used to resolve a website from your local computer, regardless of the site’s DNS records.
In Windows, you can find your DNS hosts file in the following location:
C:\Windows\System32\drivers\etc\hosts
To open and edit the “hosts” file, follow the steps below on the computer where the On-Site Proxy Agent is installed:
- Run Notepad as administrator.
- In Notepad, choose Open from the File menu.
- In the address bar at the top, type the path to the hosts file and press “Enter.”
- Choose Notepad in the list of applications and click OK. The hosts file will be opened in Notepad.
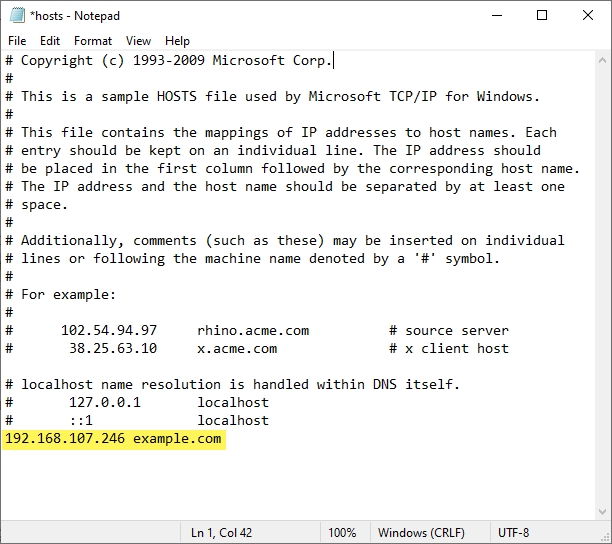
- Add a custom IP address and the corresponding hostname at the end of the file.
- Save and close the file.
Note that each entry should be kept on an individual line. The IP address should be placed in the first column, followed by the corresponding host name. The IP address and the host name should be separated by at least one space.
For example, if you want to resolve example.com to the IP address of 192.168.107.246, you must add the following line to the end of the “hosts” file:
192.168.107.246 example.com