
Below are common examples that demonstrate how to authenticate and perform basic API actions—such as creating devices and tasks, retrieving platforms, and editing device information—using Postman (see also: Postman Collection for Load Testing).
To begin using the Dotcom-Monitor API, set the HTTP/HTTPS header:
Content-Type: application/json
For detailed information about each API method, refer to the corresponding article in the Methods category.
Login
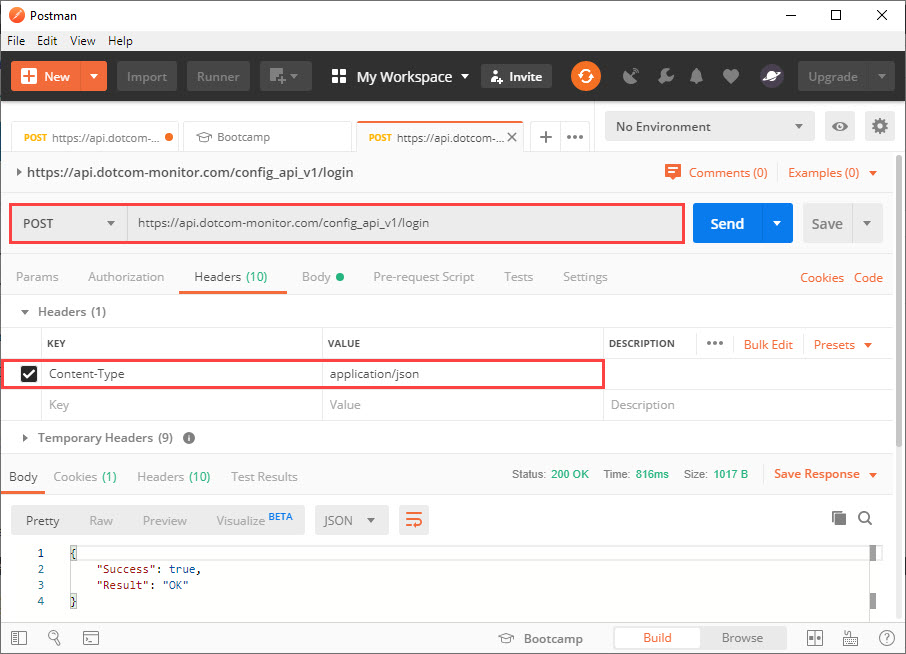
To authenticate, send a POST request to /login. Each successful login starts a new session. Sessions expire after a short period of inactivity (default: 1 minute). Any API call resets this timer.
If the session expires, you will receive 401 – Unauthorized, and you’ll need to log in again.
It is recommended to use your integration UID for authentication (Manage > Integration > UID).
POST /config_api_v1/login HTTP/1.1
Host: api.dotcom-monitor.com
Content-Type: application/json

{
"UID":"0E206D45650A4ACD8EB689B8CC25FA7F"
}
Get Platforms
To retrieve a list of monitoring platforms, use GET /platforms.
The response includes platform, package, and device IDs—save these for future requests.
GET /config_api_v1/platforms HTTP/1.1
Host: api.dotcom-monitor.com
Content-Type: application/json
Create a Device
Use the platform and package details obtained from the “Get Platforms” response to construct your JSON request. Any parameters not included will be set to default values.
POST /config_api_v1/devices?verb=PUT HTTP/1.1
Host: api.dotcom-monitor.com
Content-Type: application/json

{
"Postpone":"true",
"Frequency":60,
"Package_Id":465,
"Platform_Id":12,
"Locations":{2,4,6,18,68},
"Name":"TESTDEVICE 9.23.2019"
}
Create a Task
Post /config_api_v1/tasks?verb=PUT HTTP/1.1
Host: api.dotcom-monitor.com
Content-Type: application/json

{
"Name":"testname",
"Url":"https://www.dotcom-monitor.com",
"Device_Id":123456,
"RequestType":"GET",
"Task_Type_Id":2,
"DNSResolveMode":"Device Cached"
}
Get and Edit Device Information
To update a device, first retrieve its details:
GET /config_api_v1//device/193403 HTTP/1.1
Host: api.dotcom-monitor.com
Content-Type: application/json

Modify the returned JSON as needed, then send it back with the updated values.
POST /config_api_v1//device/193403 HTTP/1.1
Host: api.dotcom-monitor.com
Content-Type: application/json

{
    "Avoid_Simultaneous_Checks": false,
    "Alert_Silence_Min": 0,
    "False_Positive_Check": false,
    "Locations": [
        1,
        2,
        3,
        4,
        6,
        11,
        13,
        14,
        15,
        18,
        19,
        23,
        43,
        68,
        97,
        113,
        118,
        138,
        153,
        233
    ],
    "Send_Uptime_Alert": false,
    "Status_Description": "POSTPONED",
    "Postpone": true,
    "Owner_Device_Id": 0,
    "Frequency": 10800,
    "Filter_Id": 7791,
    "Scheduler_Id": 0,
    "Notifications": {
        "E_Mail_Flag": false,
        "E_Mail_Address": null,
        "E_Mail_TimeInterval_Min": 5,
        "WL_Device_Flag": false,
        "WL_Device_Email_Address": null,
        "WL_Device_TimeInterval_Min": 15,
        "Pager_Flag": false,
        "Pager_Area_Code": null,
        "Pager_Phone": null,
        "Pager_Num_Code": null,
        "Pager_TimeInterval_Min": 15,
        "Phone_Flag": false,
        "Phone_Area_Code": null,
        "Phone_Phone": null,
        "Phone_TimeInterval_Min": 15,
        "SMS_Flag": false,
        "SMS_Phone": null,
        "SMS_TimeInterval_Min": 15,
        "Script_Flag": false,
        "Script_Batch_File_Name": null,
        "Script_TimeInterval_Min": 0,
        "SNMP_TimeInterval_Min": 0,
        "Notification_Groups": []
    },
    "Id": 193403,
    "Number_Of_Tasks": 1,
    "WaitingForApproval": false,
    "Platform_Id": 12,
    "Package_Id": 465,
    "Name": "Under_Task"
}
Additional information on how to create devices with Dotcom-Monitor APIs is available on our Wiki.