Keyword validation is used within a website monitoring script to ensure that the expected keywords appear on the specified web page. We recommend that you perform validation on a least one or two words per page. By performing validation on at least a couple of words on each page, you ensure that not only has your web server successfully responded to the HTTP request but also that the browser has rendered the web page content and it is being displayed correctly with respect to the page’s text.
When implementing keyword validation, it is important to always try to select words that you know will appear on the page, regardless of changes to the layout of the page or its content. Keyword Validation in the EveryStep Web Recorder window may be added using two different methods.
Validation Methods: Using the Keyword Button
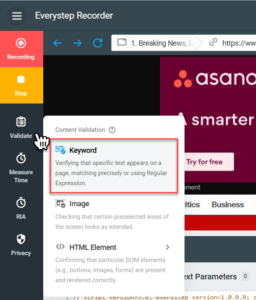
Keyword validation is a function available from the left side toolbar of the EveryStep Web Recorder under Validate or from the tool right-click menu (Validate > Keyword).
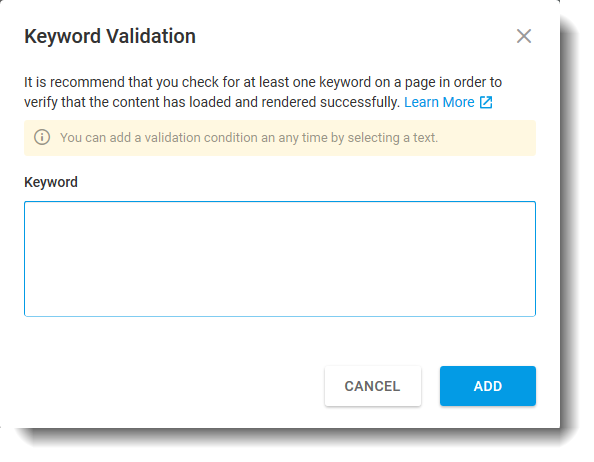
This will open the Keyword Validation dialog box.
You can populate the Keyword Validation dialog box with any single word. Additionally, you may specify multiple words, but only in the exact order they appear on the page. If you wish to specify multiple keywords that are not in sequence, you should specify each keyword in a separate Keyword Validation dialog box. Please note that the Keyword Validation dialog box does not accept comma-separated or semi-colon delimited lists of keywords.
Once you’ve added your keyword(s) to the Keyword Validation dialog box and selected Add, the keyword validation tool will add a line to the script that asserts the specified keyword exists somewhere on the currently loaded web page.
If you try to add a keyword and the script returns an error stating that the keyword does not exist, make sure that you have entered the text exactly as it appears on the page and that you have not accidentally added a space or pressed enter at the end. If this occurs, a line break will be added to the end of the keyword.
Validation Methods: Selecting a Keyword on the Web Page
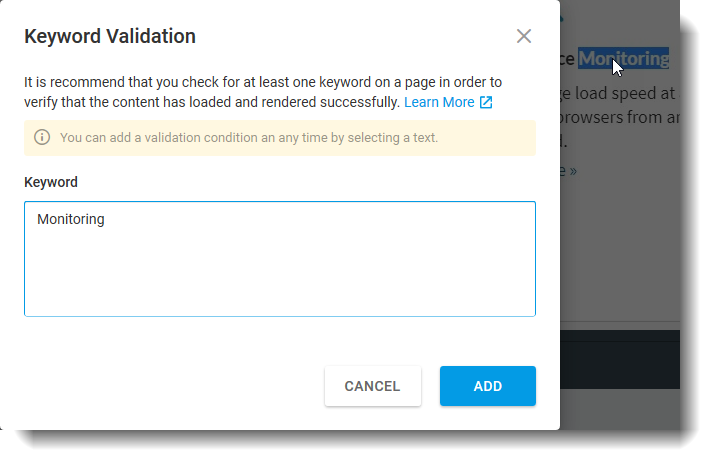
You can also add a keyword for Keyword Validation by selecting a word on the page and then right-clicking that word. In the Validation dialog box, select the Keyword option. This will automatically populate the keyword field with the word you have selected.
This validation method is typically the preferred method with Dotcom-Monitor users as it ensures that the keyword is not accidentally mistyped, that any capitalization within the keyword is correct, and that any spaces before or after are correctly formatted. This is important for a couple of following reasons:
- Differences in capitalization will cause the keyword to not validate and subsequently cause a false positive error.
- Manually populating the Keyword Validation dialog box through manual typing causes some users to unintentionally add a space or enter a button strike because of habit. These non-printing characters will become part of the script and cause the validation to potentially fail.
Example: Dotcom-Monitor YouTube Page
Let’s run through a validation example on a web page. For this scenario, we will be creating a monitoring device for the Dotcom-Monitor YouTube page.
To begin, you need to log in to your Dotcom-Monitor account and create a Web Application monitoring Device. This will open the EveryStep Web Recorder. You can also create a Web Page monitoring Device, but this option will not open the EveryStep Web Recorder. However, you will be able to manually input keywords in the Content Validation section. If you’re also looking to add Image Validation for monitoring, you will need to start a Web Application monitoring Device.
Once we’ve selected Web Application, the EveryStep Web Recorder will open. You will enter the URL and select any other configuration options, such as Device Type, Browser, and Resolution to Record.
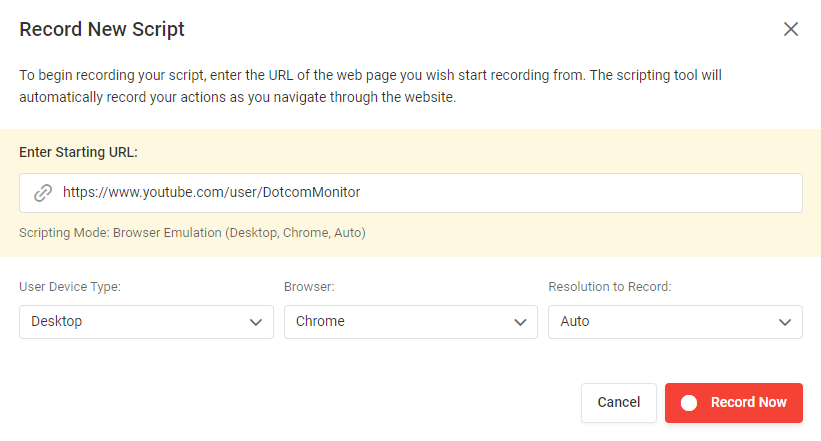
This will open the target YouTube URL within the EveryStep Web Recorder (see below). From here we will select the “DotcomMonitor” keyword.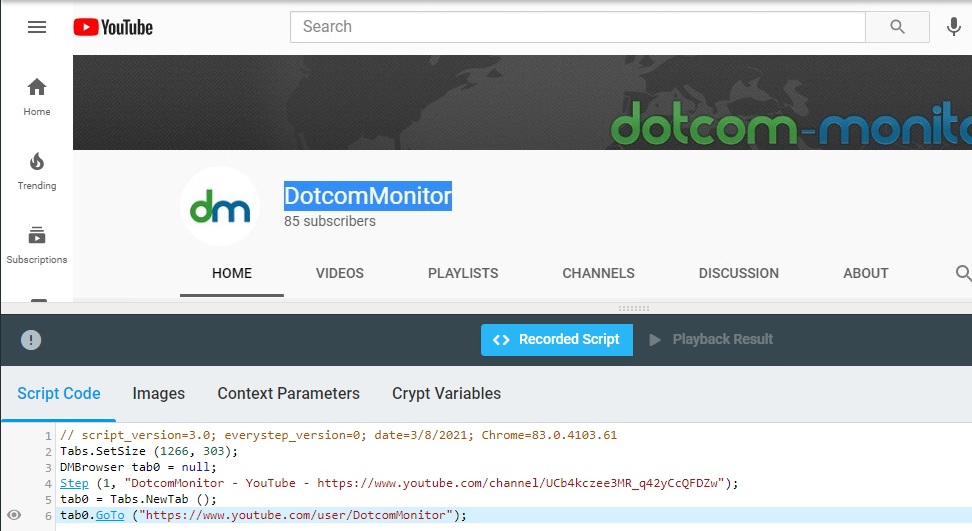
Right-clicking on the highlighted keyword will open the Actions menu. Select Validate > Keyword from the menu.
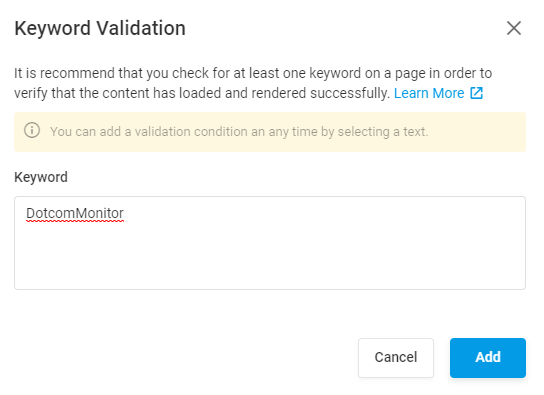
Selecting Add will close the Keyword Validation dialog box and you will see the Keyword Assert method added to the script code. From here, you can continue building your script or stop the recording.

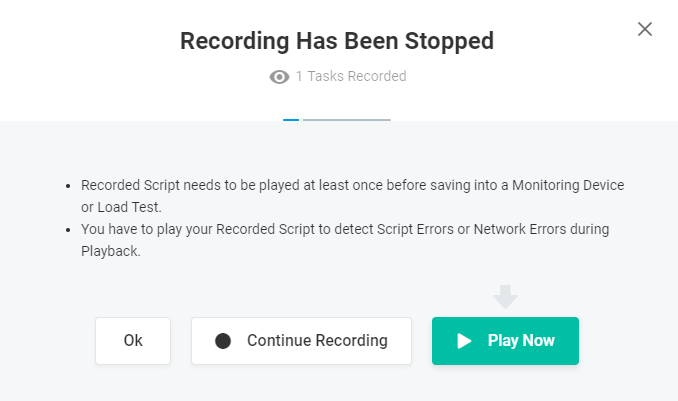
For this scenario, we will stop the recording. You will be prompted to playback the script to ensure there are no errors.
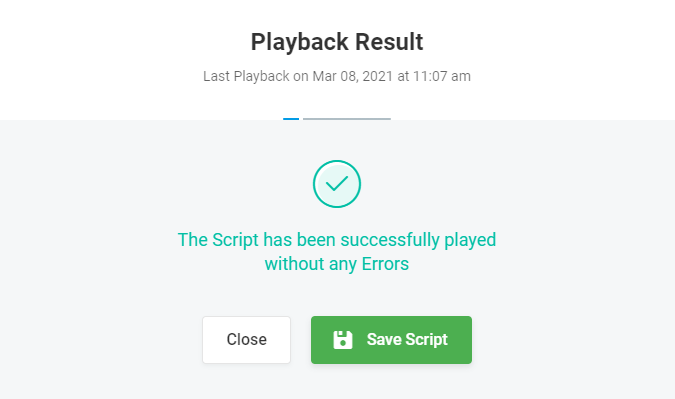
If the script comes back with no errors, you will see a response like the one below.
From here, you can finalize the setup of your monitoring device and select your settings, monitoring locations, alerts, and reports. Once your device has been set up and running, you can check the performance and results within the monitoring reports. You will be able to see if the keyword validation you set up is working properly and if the validation is successful, you will see a response of OK in the report for your keyword assert. If you set up any alerts, you will receive alerts based on the thresholds you set or when any errors are detected.
To learn more about content and image validation with the EveryStep Web Recorder, please visit our Content Validation Knowledge Base page. For a full run-down of EveryStep Web Recorder features, please visit our EveryStep Scripting Tool Knowledge Base page.

